At last also run ‘gradlew clean’ in android directrly Just to be on safe side
What execution failed for task app mergedexdebug?
When you build the android app, It creates .dex file. If you extract a apk file also, you will be able to see this file. What’s happening is that the app cant fit all imported packages into one single .dex file. This is why It is happening. usually this error occurs when you have imported many packages to your your app.
How did we solve this issue?
By enabling multiDexEnabled to true you are giving permission to create more than one .dex file. This way it will create two or more .dex file if required. Anyway, the fix is to add multiDexEnabled true to your app/build.gradle
What if this doesnt work
If it does not work, the best thing is try to other solution that have mentioned on StackOverFlow. Also ensure your minSdkVersion is above 21. If you have solved this issue in any other way make sure to comment it in this post and help each other.
Your App/build.gradle should include these lines in appropriate places
dependencies {
  implementation 'com.android.support:multidex:1.0.3' //enter the latest version
}
android {
    defaultConfig {
        multiDexEnabled true
    }
}
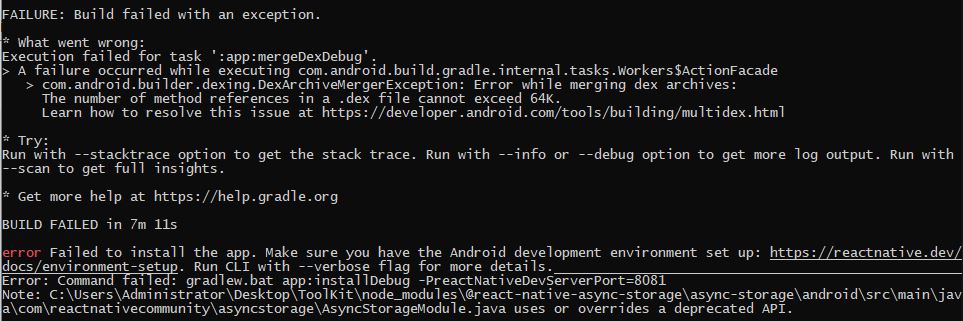
FAILURE: Build failed with an exception.
* What went wrong: Execution failed for task app installdebug
Execution failed for task ‘:app:installDebug’.
> com.android.builder.testing.api.DeviceException: No connected devices!
* Try:
Run with –stacktrace option to get the stack trace. Run with –info or –debug option to get more log output. Run with –scan to get full insights.
* Get more help at https://help.gradle.org
BUILD FAILED in 3m 49s
error Failed to install the app. Make sure you have an Android emulator running or a device connected. Run CLI with --verbose flag for more details.
Error: Command failed: gradlew.bat app:installDebug -PreactNativeDevServerPort=8081
What task app installdebug failed?
The task app installdebug failed happen in when it cant install the build apk on your device. This might be due to because your device is not connected or emulator is not running. Somehow the point is that apk was built successflly but it cant install the app. It might be because you have a higher version of same apk already installed on the device or emulator!
Possible solution for this problem
Ensure that device is connected successfuly to PC
Check if emulator is running.
Check if USB Debugging is enabled
Check for loose connection
If you have already installed application, please uninstall application and try
The best solution for Execution failed for task app installdebug
The best solution is for you to install the emulator. Download genymotion or any other emulator. Once the emulator is opened you can start the build process of application. This way application will auto start on the emulator. You can always use the built in emulator in the android studio also. While choosing emulator type, ensure to chose a emulator that have playstore installed. Mostly pixel devices will have google playstore pre-installed.
While you are also do check out Execution failed for task ‘:app:mergeDexDebug’ | execution failed for task appmergedexdebug.
Also check How to upgrade to windows 11 without loosing any data
Its always important to have a backup of your pc or laptop drivers. We all are always trying to limit our data plan and to spend less. In this article your are going to learn how to backup and restore your drivers. Ensure you can always backup and restore drivers easily.
This will be super helpful when you are about to format your PC for any reason. And also, sometimes you might not have the driver CD or even find the best compatible driver online, that’s the time you need to use this method.
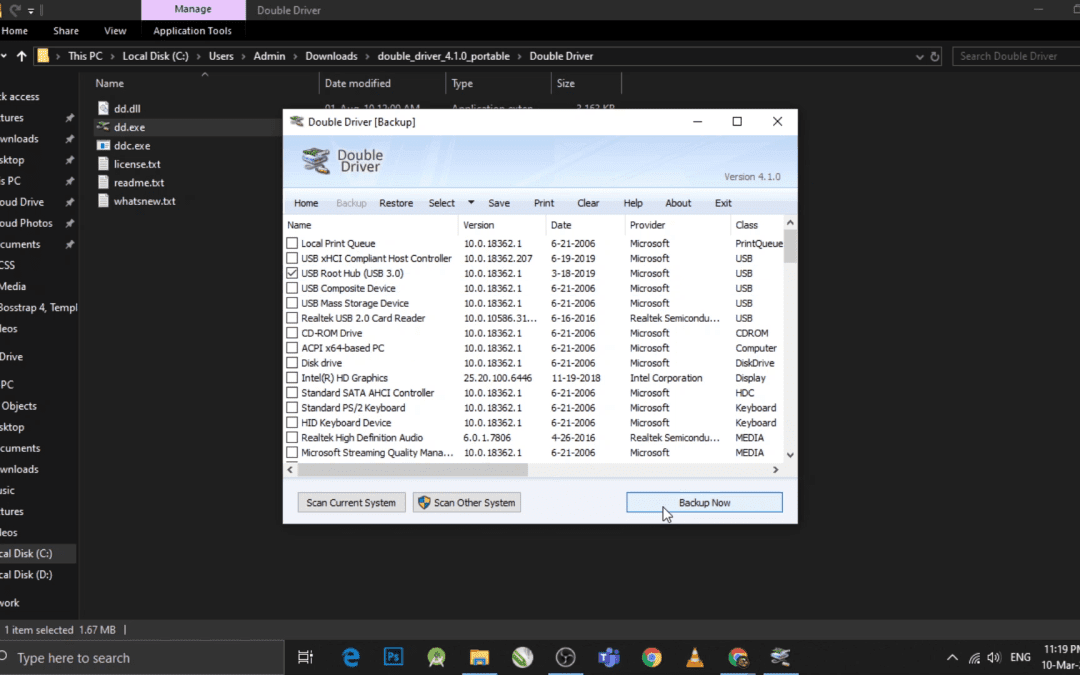
open double driver and scan your pc for the available driver.
Select the desired drivers to backup
Click the Backup button.
Click restore button to restore the driver
Select the folder that contain the backup
select ok and proceed with installation
Lets see how to backup and restore drivers
A story from my personal experience about driver
In 2021, I started to work as a IT Technician on an organization. During my time, I was tasked to connect a display to a PC using USB TO VGA adapter. As a normal technician, I connected the display using the USB to VGA adapter. However, It was not working. I realized it should have something to do with driver. So I installed the driver from their website. It was a perfect match, but somehow that PC started crashing cannot always go to startup repair screen.
To solve the issue, I had to format the PC. Later I used double driver to copy the driver from another PC which already is connected using the USB to VGA adapter. And finally, It worked fine. So its better to backup the drivers and use it on compatible PC, instead of trying new ones from the internet.
This is a common issue for many people. Somehow double driver also did not find the driver you are looking. It’s rare, But it might happen. So let me tell you what you need to do if you ever face a situation like this.
Instead of randomly google searching for driver, you need to care fully identify the manufacture brand and go to their website. Once you reach their website head over to download section which will most probably be under the support section. Once you go their most likely you can enter the model number of the product. This way they will show you the real and updated driver for your PC. It’s not recommended to install drivers from websites that are not original manufactures.
Is there any software that will help me find the drivers?
There are software’s that you can install on your PC and it will search for the driver based on your system hardware specifications. But the downside of these software’s is that they all come with a pricing. Of course, they have a free package, but it wont cover it all. One of the famous software for this is Driver Boosters
Yes! If you have connected to a wifi network ever in your life means that you can see the password of that network. Connected wifi passwords will be stored in your pc and you can easily accsess it. Follow the steps below.
Setps:
Open CMD
Write the command “netsh wlan show profiles” and press enter
You will see the list of networks you have connected
Write the name of wifi network with previous command.
It will be some thing like this “netsh wlan show profiles wifinetworkname”
After pressing the enter, you will see many information about the network.
Under security setting look for “Security key : Present” (If absent you cant view wifi password)
with previous command type key=clear
Now you will see the password under “security setting”